I got a panicked call from a friend two winters ago. Her camper van had a dead short somewhere behind the cabinets, smoke was starting to curl out from under the bed, and she had no way to kill power to the battery without popping the hood-style access panel and physically pulling cables off the terminal with a wrench. That’s the moment a main battery disconnect earns its keep, and it’s the one part I now consider mandatory whenever I’m installing a lithium battery bank.
The quick version
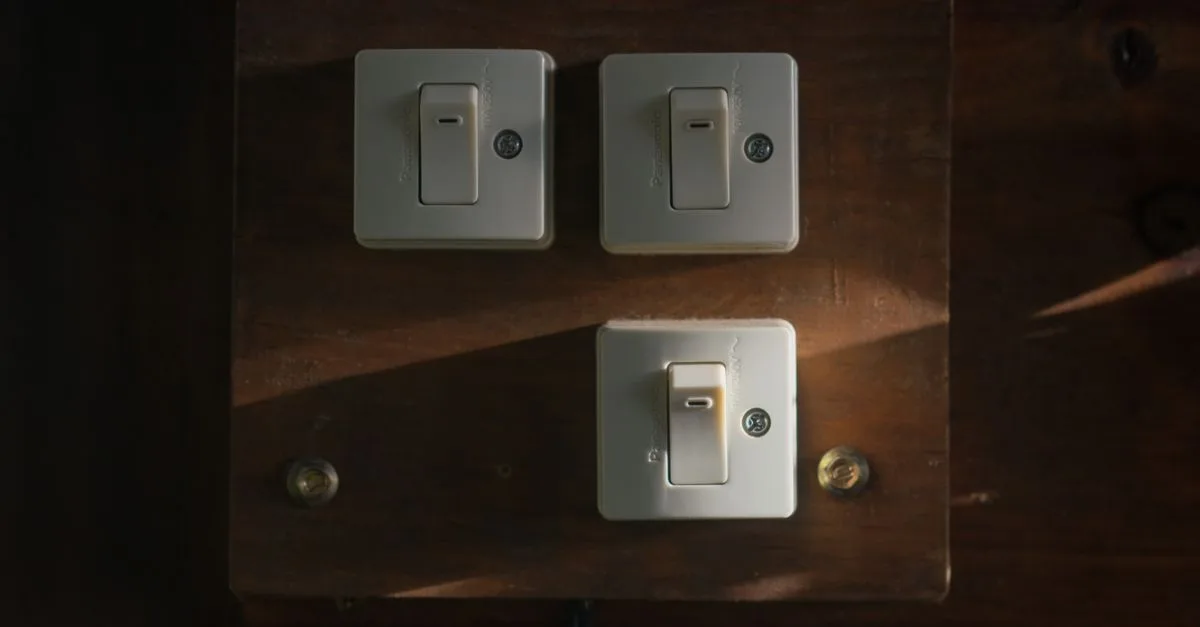
- A disconnect switch should be rated for at least 1.25 times your worst-case continuous amp draw, not just your battery’s capacity.
- Mount it on the positive cable, as close to the battery as practical, somewhere you can reach it in seconds.
- Torque terminal lugs to spec (usually 90 to 110 in-lbs on a Blue Sea 6006 or similar) and check them again after a week of vibration.
- A disconnect is not a substitute for fusing. You need both, and they do different jobs.
- Budget $35 to $110 for the switch itself, plus lugs and a short cable if your run needs one.
Why a disconnect switch matters more with lithium
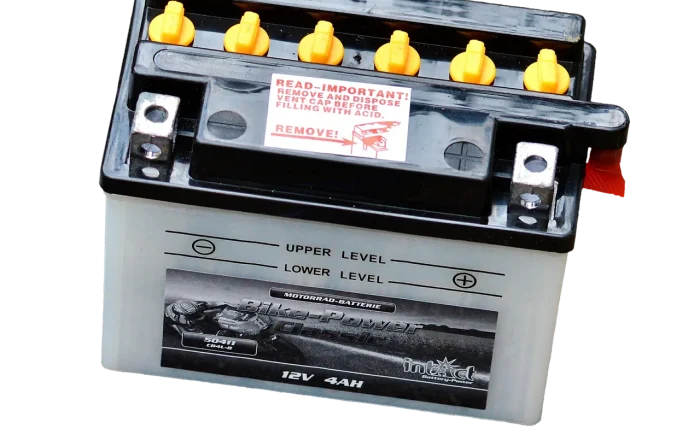
Lead-acid systems are somewhat forgiving of sloppy wiring because the battery’s internal resistance limits how hard it can push current into a fault. Lithium batteries do not have that built-in mercy. A LiFePO4 bank can dump enormous fault current in milliseconds, which is exactly why a fast, physical way to cut power matters more here than it ever did with your old AGM setup.
Battle Born and other manufacturers build a BMS into every cell group precisely because lithium chemistry needs active management. But a BMS reacts to conditions inside the pack. It doesn’t help you when the fault is downstream, in your inverter wiring, your DC fuse block, or a chafed cable rubbing against a frame rail.
A main disconnect gives you, the human, direct manual control. Storage, maintenance, an electrical fire, or just wanting to fully de-energize the system before working on it, all of these situations call for one switch you can find and flip without thinking.
Picking the right switch for your amp draw
This is where I see people undersize things constantly. A rooftop AC unit, a 3000-watt inverter, and a DC-DC charger running at the same time can easily pull 250 amps or more from a 12V bank. Your disconnect has to handle that continuously, not just survive a brief spike.
| Switch | Continuous rating | Typical price | Good for |
|---|---|---|---|
| Blue Sea Systems 6006 (m-Series) | 300A continuous | $45-55 | Most van and RV builds with one inverter |
| Blue Sea Systems 9001e (ML-Series remote) | 275A continuous, remote actuated | $95-120 | Systems where the switch can’t be reached by hand |
| Victron battery switch (dual) | 275A continuous | $40-60 | Systems that also need a service disconnect |
| Generic rotary battery switch | Often 250-350A intermittent only | $15-25 | Light loads only, verify continuous rating before buying |
Add up your biggest simultaneous loads before you shop. If you’re running an inverter that pulls 250 amps at full tilt alongside a 40 amp DC-DC charger, you want headroom above 300 amps, not a switch rated right at your ceiling. If you haven’t worked through your cable gauge yet, our battery cable sizing chart pairs well with this step since switch terminals and cable lugs need to match.
Warning: Do not buy a disconnect based on the battery’s amp-hour rating. A 300Ah battery bank and a 100Ah battery bank can have identical peak draw if they’re both feeding the same 3000-watt inverter. Size the switch to the load, always.
Tools and parts you’ll need
- Battery disconnect switch rated above your worst-case continuous amp draw
- Appropriately sized battery cable if you’re adding length (usually 2/0 to 4/0 AWG for high-current systems)
- Tinned copper lugs matched to your cable gauge and the switch’s stud size
- A hydraulic or heavy-duty ratcheting crimper, not a cheap hand tool (see our guide on how to crimp battery lugs right if this is your first time)
- Torque wrench that reads in inch-pounds
- Heat shrink tubing and a heat gun
- Dielectric grease for the terminal contacts
Step by step: installing the disconnect
Start with the battery fully disconnected from every load. If you don’t already have a main fuse or class T fuse near the battery, install that first, since the disconnect and the fuse are not interchangeable and both belong in this circuit.
- Choose your mounting location on the positive side, as close to the battery terminal as your cable run allows.
- Mount the switch body to a solid surface, plywood backing or a metal bracket, using stainless screws.
- Measure and cut cable to length, leaving a little slack for strain relief.
- Crimp lugs onto both cable ends, then seal each crimp with adhesive-lined heat shrink.
- Connect the battery-side cable to the switch’s input terminal, and the system-side cable to the output terminal.
- Torque both terminal nuts to the switch manufacturer’s spec, typically 90 to 110 in-lbs for a Blue Sea m-Series.
- Apply a light coat of dielectric grease to the exposed terminal threads to slow corrosion.
- Cycle the switch a few times before buttoning things up, confirming a solid click and no arcing.
The first van I wired for a client, I mounted the switch beautifully behind a cabinet panel that looked fantastic and was nearly impossible to reach without a screwdriver and two minutes of patience. It technically worked. It was useless in an emergency. Now I mount every disconnect somewhere you can hit blind, in the dark, with cold hands.
A mistake I see constantly
People wire the disconnect on the negative cable because it’s easier to route, then wonder why their chassis still shows continuity to the battery even with the switch off. If your negative bus is bonded to the frame anywhere, as many marine and RV grounding schemes are, cutting the negative leaves the whole chassis still connected to positive through every appliance chassis ground.
ABYC standards for DC electrical systems recommend switching the ungrounded (positive) conductor for exactly this reason. Victron’s own installation guides echo the same practice for their inverter and charger systems.
Wiring it alongside your fuse and busbar
The order of components matters. Working outward from the battery, you typically want: battery terminal, a main fuse (Class T or MRBF) rated for your system’s peak current, then the disconnect switch, then your positive busbar feeding individual circuits. Some builders put the disconnect before the fuse instead, which is also acceptable as long as both are present and correctly rated.
If you haven’t settled on fuse sizing yet, work through our guide to fusing a lithium battery correctly first, since it changes your cable gauge and lug choice. Getting the two right together saves you from re-crimping cables twice, and it also helps you sidestep a couple of the common lithium wiring mistakes I still see on brand-new installs.
Testing your work before you trust it
Once everything is torqued down, use a multimeter to confirm zero voltage downstream of the switch when it’s off, and full battery voltage when it’s on. Check for warmth at both terminals after running your heaviest load for 15 to 20 minutes, since a warm lug usually means a loose or under-torqued connection.
Re-torque every connection after the first week of driving. Vibration loosens even well-crimped lugs, and this single follow-up habit prevents most of the loose-connection fires I’ve seen reported in van build forums.
A disconnect switch is maybe an hour of labor and less than a hundred dollars in parts, and it’s the one component that lets you walk away from your rig for the winter, or hand it off to an RV tech, without worrying about what’s still live behind the panels. Size it generously, mount it where you’ll actually use it, and torque the terminals properly, and you’ll likely never think about it again until the one day you really need it.