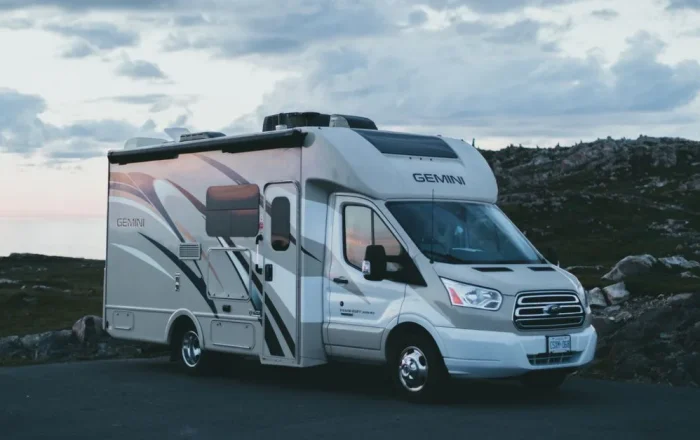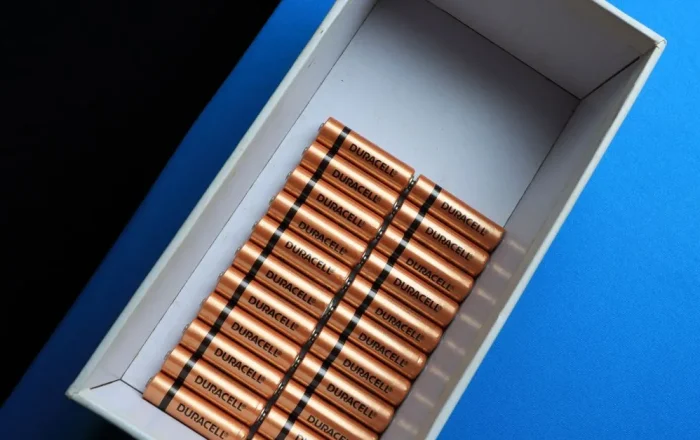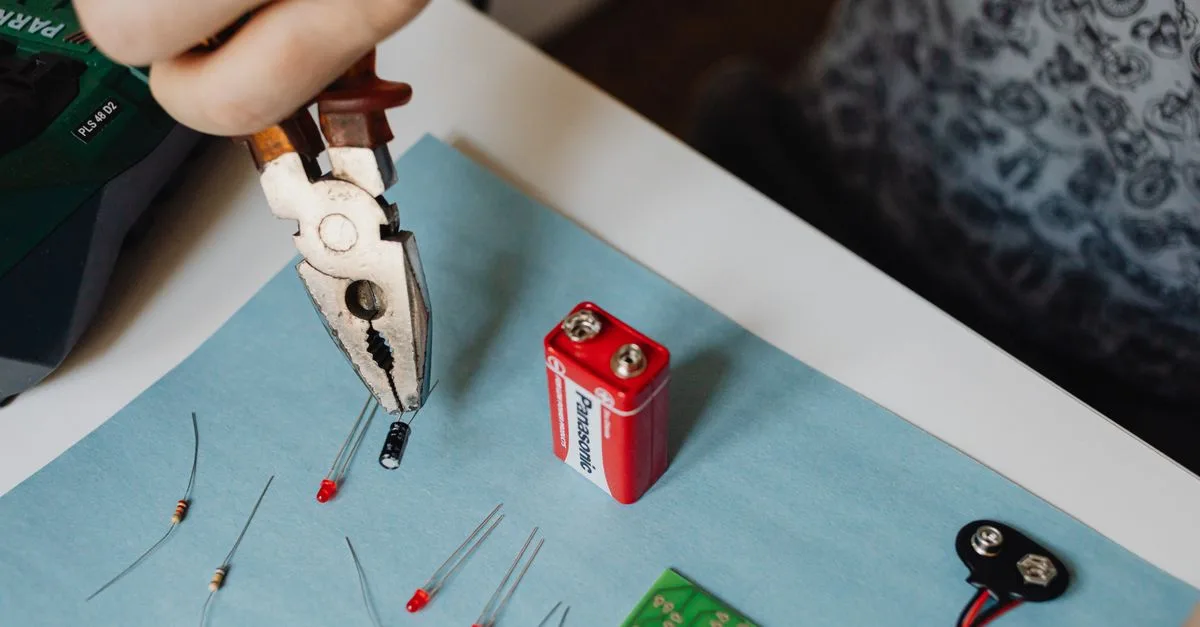
The first van I helped wire, the owner had already bought four bare LiFePO4 cells off a marketplace listing because a YouTube video made it look like a weekend project with a 400 dollar savings. Three weeks later he was still waiting on a compatible BMS, his spot welder had arrived with the wrong tip size, and he ended up buying a Battle Born unit anyway just to make his departure date. That is not a knock on DIY batteries. It is a warning that the decision is about more than the sticker price of raw cells.
The quick version
- Drop-in batteries from brands like Battle Born, Li Time, or Ampere Time cost more per amp hour but arrive tested, certified, and warrantied.
- DIY builds using bare prismatic or cylindrical cells plus a separate BMS can save 15 to 30 percent, but only if nothing goes wrong.
- Tool investment for a first DIY build (spot welder, capacity tester, crimpers) often runs 300 to 600 dollars on top of the cells.
- Most experienced installers recommend DIY only if you already have electronics troubleshooting experience or genuinely enjoy the process as a hobby.
- For a first lithium conversion on a rig you depend on, a drop-in battery removes the single biggest point of failure: a mismatched or poorly configured BMS.
What “drop-in” actually means
A drop-in lithium battery is a sealed box, usually in a Group 24, 27, 31, or 4D case, with the cells, busbars, and a built-in battery management system already assembled and tested at the factory. You bolt it in, connect positive and negative, and it behaves like any 12V battery to the rest of your system.
Brands like Battle Born, Li Time, Renogy, Ampere Time, and Victron’s own lithium line all fall into this category. Prices for a 100Ah unit typically run from 300 dollars on the budget end to 900 dollars or more for premium brands with Bluetooth monitoring and stronger continuous discharge ratings.
You are not just paying for cells. You are paying for cell matching done at the factory, a BMS engineered specifically for that pack, and a company that answers the phone if the battery does something strange.
What a DIY build actually involves
Building your own means sourcing individual prismatic cells, usually 3.2V EVE or CATL cells rated 100Ah or 280Ah, then assembling them into a series string, adding a separate BMS (Overkill Solar’s 100A or 200A units are the most common choice in the van community), and housing the whole thing in a case or battery box you build or buy separately.
A realistic first-timer parts list for a 100Ah 12V pack: four 100Ah EVE cells around 220 to 260 dollars total, an Overkill BMS around 130 to 180 dollars, nickel busbars and terminal hardware around 40 dollars, and a case or enclosure around 30 to 60 dollars. That lands you near 450 to 550 dollars before tools, versus 350 to 500 dollars for a comparable drop-in unit on sale, which is a much thinner gap than the DIY forums suggest.
Note: The math changes at larger capacities. A DIY 280Ah build can run 30 to 40 percent cheaper than a comparable drop-in, which is where most serious DIY builders actually find their savings.
The tools nobody mentions in the cost comparison
Cell matching requires a way to test capacity and internal resistance before you commit cells to a pack, otherwise one weak cell drags the whole string down and trips your BMS early. A basic capacity tester or a bench power supply with a load runs 80 to 150 dollars.
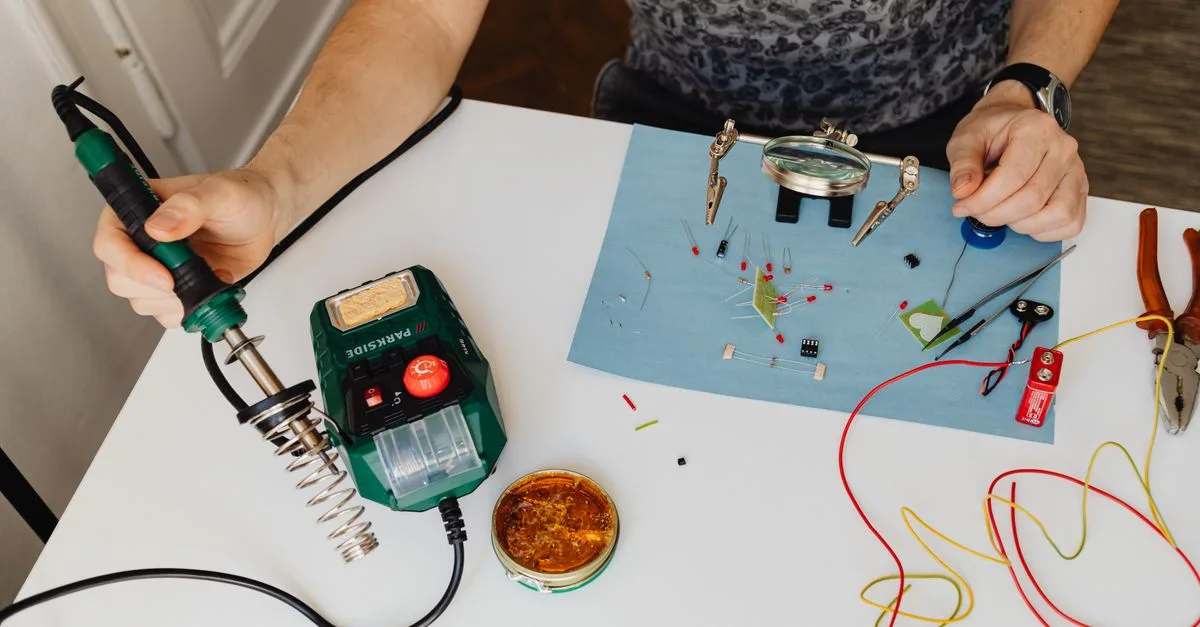
Connecting cells cleanly means either a spot welder for nickel strip (150 to 300 dollars) or accepting bolted busbar connections, which work fine but need periodic torque checks. Add a good crimper for ring terminals, a multimeter you trust, and heat shrink tubing, and your one-time tool investment lands around 300 to 600 dollars if you are starting from zero.
If you already own this gear from other projects, the DIY math improves dramatically. If you are buying it all for one battery, it rarely does.
Where DIY genuinely wins
- Large capacity banks (280Ah+ per battery) where the per-amp-hour savings compound
- Custom form factors that do not fit standard battery box dimensions, like under-bench builds in a sprinter van
- Builders who want Bluetooth cell-level monitoring without paying a premium brand markup
- Anyone who already has the tools and enjoys the process as much as the destination
- Off-grid or remote builders who want to understand every wire in their system for field repairs
Where drop-in wins, and it is not close
A mistake I see constantly is treating BMS selection as an afterthought. The BMS is the single component protecting your cells from overcharge, over-discharge, and thermal problems, and matching it correctly to your cell count, capacity, and expected charge and discharge currents takes real electrical knowledge.
Get it wrong and you either trip nuisance disconnects at the worst moment, or worse, you undersize protection and shorten cell life fast. Drop-in batteries eliminate this risk entirely because the BMS was engineered and tested for that exact pack at the factory.
There is also the warranty question. Battle Born backs its batteries with an 8 to 10 year warranty depending on the model. Build your own and there is no single party responsible if something fails eighteen months in, you are troubleshooting cell by cell.
| Factor | Drop-in lithium | DIY build |
|---|---|---|
| Upfront cost (100Ah) | $350 to $900 | $450 to $550 plus tools |
| Upfront cost (280Ah) | $900 to $1,400 | $650 to $900 plus tools |
| Warranty | 8 to 10 years, full pack | None on assembly, limited on cells |
| Time to install | 1 to 2 hours | 10 to 25 hours for a first build |
| Skill required | Basic wiring | Cell testing, BMS config, welding or bolting |
| Failure troubleshooting | Call the manufacturer | You diagnose it yourself |
A realistic scenario: two van builds, same budget
Picture two owners each with a 1,200 dollar battery budget. The first buys two 100Ah Li Time batteries in parallel for around 700 dollars total, spends the remaining 500 on a better DC-DC charger and proper cabling, and is camping within a weekend.
The second sources 280Ah cells and a BMS for around 750 dollars, spends three weekends testing, matching, welding, and configuring, and ends up with more total capacity for similar money, but with far more time invested and zero safety net if a cell was mismatched from the start.
Neither choice is wrong. It depends entirely on whether your scarce resource is money or weekends, and how comfortable you are being your own tech support.
How to decide for your situation
If this is your first lithium conversion, if the rig is your daily driver or full-time home, or if you simply want to camp instead of tinker, buy a drop-in battery. The premium buys you sleep at night, which matters more than people admit before their first BMS scare at a campground three hours from cell service.
If you already understand lithium cell chemistry and degradation, have the tools, and want maximum capacity per dollar at 280Ah scale, DIY is a legitimate and rewarding path. Just budget real time for cell matching and testing, not the compressed timeline YouTube videos make it look like.
Getting the rest of the system right either way
Whichever route you choose, the battery itself is only part of the story. You still need to confirm your total lithium battery bank cost against your real power needs before committing to a capacity, and it helps to understand how a LiFePO4 battery actually works internally so you know what the BMS is protecting against in either a drop-in or DIY pack.
If you are still comparing brands for the drop-in route, our guide on how to choose a lithium battery brand walks through what separates the reliable names from the risky ones. And if you have not settled on lithium at all yet, start with our full LiFePO4 vs lead acid comparison to make sure the upgrade itself makes sense for your rig.
Tip: If you are on the fence, buy one drop-in battery now to get camping, then build a DIY 280Ah bank later as a second bank once you have lived with your power needs for a season. You will make far better sizing decisions with real usage data than with guesses.
There is no universally correct answer here, only the right answer for your budget, your timeline, and how much you want your battery bank to be a project versus an appliance. Ask yourself honestly which one you are actually looking for before you order a single cell.