I once spent forty-five minutes chasing a mystery voltage drop on a customer’s van build before I found the problem sitting in plain sight: a positive terminal lug that was snug, but not torqued. It wasn’t loose enough to spark or smoke. It was just loose enough to add resistance, heat up under a 100-amp inverter load, and slowly cook the crimp inside the lug. Terminal torque is one of those details that never makes the highlight reel of a lithium conversion, but it is quietly responsible for a huge share of the “my battery gets warm” and “my voltage reads low under load” complaints I hear.
The quick version

- Every LiFePO4 terminal has a manufacturer torque spec, usually printed on the battery or in the datasheet, typically in the 4 to 7 ft-lb range for main terminals.
- Under-torqued connections cause resistance heating that can degrade the crimp, melt insulation, or trip protection circuits under high current draw.
- Over-torquing is just as damaging: it can crack terminal bosses, strip threads, or warp the lug.
- A basic inch-pound or foot-pound torque wrench, not a guess by feel, is the only reliable way to hit spec.
- Re-check torque after the first month of use and then twice a year as part of routine maintenance.
Why torque matters more with lithium than lead-acid
Lead-acid battery terminals are usually the older top-post or side-post style, and a lot of installers got away with “tight by feel” for decades because lead-acid systems rarely pull the sustained high current that lithium setups do. LiFePO4 batteries like the Battle Born BB100Ah12V or the Li Time 100Ah units are built to deliver 100 amps continuous, and some can handle bursts well beyond that for a big inverter or a winch. At those currents, even a small amount of resistance at a terminal turns into real heat.
Ohm’s law does not care that you are in a hurry to finish the install before dark. A connection with an extra 0.001 ohms of resistance at 100 amps dissipates an extra 10 watts right at that joint. That does not sound like much until you realize it is concentrated in a space smaller than a quarter, sitting against a plastic battery case and a crimped lug that was never designed to be a heat sink.
What actually happens inside a loose terminal
A loose or under-torqued terminal does not fail all at once. It degrades in a specific sequence, and understanding that sequence is what convinced me to stop eyeballing it.
First, the contact area between the lug and the terminal stud shrinks because the clamping force is too low to fully seat the metal-to-metal surfaces. Second, that reduced contact area concentrates current through fewer points, raising local resistance. Third, that resistance generates heat every time you draw current, and the heat cycles the connection through expansion and contraction. Fourth, that thermal cycling loosens the joint further, which increases resistance again. It is a feedback loop, and it typically ends with a discolored, blackened terminal, a melted lug, or in worse cases a bit of arcing.
Warning: A terminal that has already discolored, has a burnt smell, or shows melted insulation should be treated as damaged, not just loose. Replace the lug and inspect the battery terminal stud itself before reconnecting, since heat damage can compromise the internal threads or the seal where the stud meets the case.
Real torque specs you can actually use
Manufacturers publish these numbers because they matter, and the specs vary more than people expect based on stud size and terminal design. Always check your specific battery’s label or datasheet first, but here is what you will typically see across common lithium brands and terminal hardware.
| Terminal / Hardware | Typical torque spec | Notes |
|---|---|---|
| Battle Born M8 terminal stud | 4.5 to 5.5 ft-lb | Check current datasheet, some models vary by revision |
| Li Time 100Ah terminal | ~5 ft-lb | Printed on unit label |
| Blue Sea Systems busbar terminal (1/4-20) | 50 to 65 in-lb (about 4.2 to 5.4 ft-lb) | Common on busbars and disconnect switches |
| ANL fuse block terminals | Varies by size, often 35 to 80 in-lb | Check the fuse holder’s own spec sheet |
| Standard 3/8 inch lug bolt (generic) | Roughly 15 to 20 ft-lb | Only if no manufacturer spec is available |
Notice that most lithium battery terminal specs are measured in inch-pounds, not foot-pounds, because the studs are relatively small. A foot-pound torque wrench meant for lug nuts on a truck wheel is the wrong tool. You want an inch-pound wrench with a range roughly from 20 to 100 in-lb, which covers nearly every battery terminal, busbar, and fuse block connection you will run into on a 12-volt system.
The tools that actually make this easy
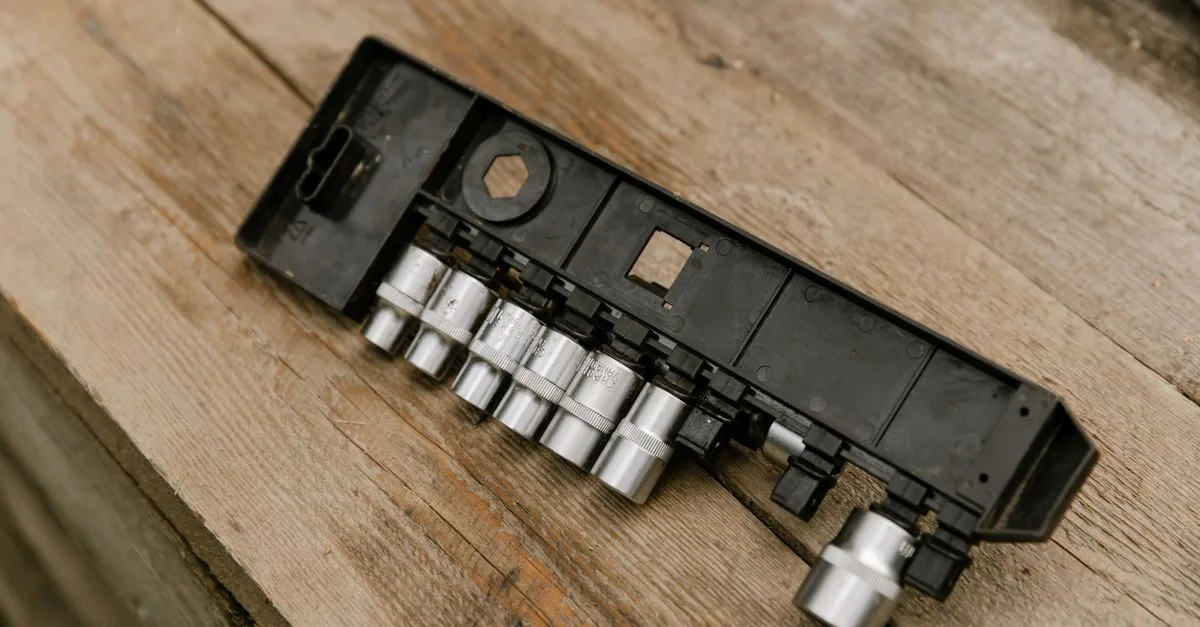
You do not need a $200 professional torque wrench for battery work. A basic click-style or beam-style inch-pound wrench in the $25 to $50 range, from a brand like Tekton or Precision Instruments, will do the job accurately enough for automotive and marine 12-volt connections. Pair it with the correct size socket or a torque screwdriver adapter if your terminal bolt has a hex head rather than a bolt head.
- Confirm the torque spec for your specific battery and terminal hardware before you start.
- Set your torque wrench to that exact value, not a round-number guess.
- Make sure the lug sits flat against the terminal with no gap before torquing.
- Torque in one smooth motion until the wrench clicks or the beam indicates spec, then stop.
- Mark the terminal with a paint pen or torque-seal dot so you can see at a glance if it has moved later.
- Log the date so you know when to re-check it.
A common mistake: torquing before the lug is seated
Here is a mistake I see constantly, even from people who own a torque wrench and know better. They set the lug on the stud slightly crooked, or with a washer misaligned, then torque straight to spec. The wrench clicks, so the job looks done. But the lug never actually seated flat, which means the real clamping force on the contact surface is lower than what the torque number implies.
Before you ever pick up the torque wrench, hand-thread the nut or bolt and visually confirm the lug is flat, square, and fully seated against the terminal with any star washers or lock washers in the correct order. Only then bring in the torque wrench for the final tightening. This two-step habit takes an extra fifteen seconds and prevents most of the false-confidence failures I have seen in the field.
Tip: If you are crimping your own lugs rather than buying pre-made cables, get the crimp right first. A poor crimp will show the same symptoms as a poor torque job, resistance heating and voltage drop, so the two problems often get confused. See our guide on how to crimp battery lugs correctly if you are building your own cables.
How torque problems show up in real symptoms
In the field, an under-torqued terminal rarely announces itself directly. Instead you get secondary symptoms that send people chasing the wrong culprit. A common scenario: an owner installs a 2000-watt inverter, runs the microwave, and sees the battery monitor voltage sag more than expected under load. They assume the battery is bad or the cable is undersized, when the real issue is a lug that was torqued to “pretty tight” instead of the actual 5 ft-lb spec.
Other telltale signs include a terminal that is noticeably warm to the touch after heavy use (terminals should stay close to ambient temperature even under load), a battery monitor shunt reading that drifts or seems inconsistent, or a burning smell near the battery box after running high-draw appliances. Any of these is worth a torque check before you replace parts that were never actually the problem.
Where terminal torque fits into the bigger wiring picture
Terminal torque is just one piece of a system that also depends on correctly sized cable, a properly rated fuse, and a clean busbar layout. If you are still in the planning phase of a build, our guide to installing a lithium battery bank safely walks through the full sequence so torque checks happen at the right stage, not as an afterthought. It is also worth confirming your cable gauge is right before you even get to the terminal, since undersized cable forces higher resistance and heat regardless of how well the terminal itself is torqued; our battery cable sizing chart covers that. And if your system runs through a central busbar, proper torque on those lugs matters just as much as at the battery itself, which is covered in our guide to wiring a clean 12V busbar system.
For a broader reference on torque specifications and general electrical connection standards used in marine and RV 12-volt systems, the American Boat and Yacht Council (ABYC) publishes standards that many battery and component manufacturers design against.
Building the habit
None of this requires special skill, just a habit change. Keep the torque wrench in the same bin as your crimper and wire strippers so it is part of the install kit, not a separate step you forget. Write the torque spec on a piece of tape stuck to the inside of the battery compartment door if you are prone to forgetting numbers, mine has said “5 ft-lb, Battle Born” for three years now and it still helps.
A properly torqued terminal is boring in the best possible way. It should stay cool, stay tight, and give you nothing to think about for years. The few minutes it takes to do it right the first time, with the correct spec and the correct tool, is cheap insurance against chasing phantom electrical gremlins later, and it is one of the simplest ways to make sure the rest of your lithium system actually performs the way it was designed to.