The first van I wired had a 2000 watt inverter and I sized the cable by eyeballing what looked “about right” compared to the jumper cables in my truck. It worked, technically, but the inverter would fault under heavy load and the cable got warm enough to worry me. That was a wire gauge problem, not a battery problem, and it is one of the most common issues I still see people wrestle with today.
Getting inverter wire gauge right is not complicated once you understand the two things that actually drive the answer: how much current your inverter pulls, and how far that current has to travel. This guide gives you a usable chart plus the reasoning so you can size any inverter setup with confidence.
The quick version
- Current draw is what matters, not wattage alone: a 3000W inverter on 12V pulls roughly 250A continuous, nearly four times what the same inverter pulls on 48V.
- Cable length (the full round trip, positive and negative) determines voltage drop, and longer runs need thicker wire even for the same current.
- For 12V systems, most inverters 2000W and up need 2/0 or 4/0 AWG cable, not the 2 AWG or 4 AWG many people assume is enough.
- Always pair correctly sized wire with a properly rated fuse placed within 7 inches of the battery, per ABYC guidelines.
- When in doubt, round up one gauge size. It costs a little more and solves 90 percent of voltage drop complaints.
Why inverter cable sizing is different from other 12V circuits
Most of your camper’s 12V wiring carries light loads, a few amps for lights, a fan, maybe a water pump. Inverters are a different animal entirely because they convert DC to AC, and DC current at 12V is expensive in terms of amperage.
A 2000 watt inverter running at full output pulls around 167 amps from a 12V battery bank, factoring in typical inverter efficiency losses of around 10 to 15 percent. Compare that to a 15 amp 120V household circuit and you start to see why inverter cable has to be so much thicker than the rest of your wiring.
This is also why inverter installs are where I most often find undersized wire in otherwise well built systems. People wire their lighting circuits correctly, then treat the inverter cable like it is just another “big” wire instead of doing the math.
The inverter wire gauge chart
This chart assumes a 12V system and a combined cable run (positive plus negative, there and back) of 3 to 10 feet, which covers the vast majority of van and RV inverter installs where the inverter sits near the battery bank. Amperage figures include roughly 15 percent for inverter inefficiency.
| Inverter Size (12V) | Approx. Continuous Current | Minimum Wire Gauge (up to 3 ft) | Minimum Wire Gauge (3 to 10 ft) |
|---|---|---|---|
| 400W | 38A | 8 AWG | 6 AWG |
| 1000W | 96A | 4 AWG | 2 AWG |
| 1500W | 144A | 2 AWG | 1/0 AWG |
| 2000W | 192A | 1/0 AWG | 2/0 AWG |
| 2500W | 240A | 2/0 AWG | 3/0 AWG |
| 3000W | 288A | 3/0 AWG | 4/0 AWG |
| 3500W+ | 335A+ | 4/0 AWG | Dual 2/0 AWG per leg |
Notice how quickly this escalates. That is the nature of low voltage, high current systems, and it is why inverter cable often looks absurdly thick to people used to household wiring.
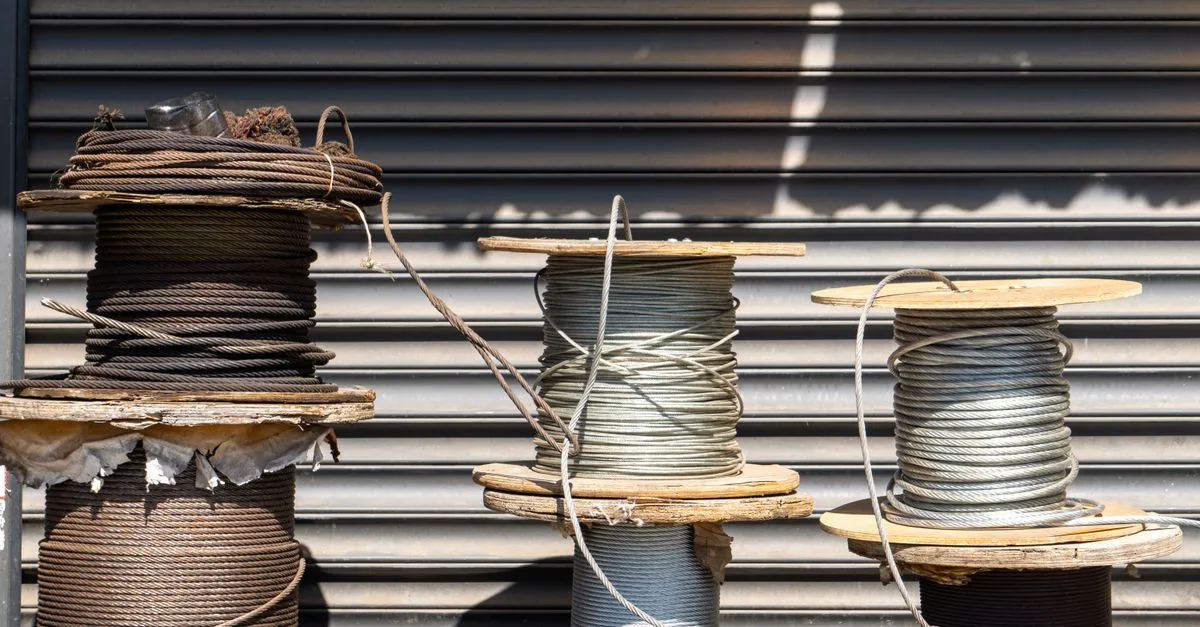
Note: These figures assume copper cable rated for continuous marine or automotive duty, like the welding cable or battery cable sold by Blue Sea Systems, Ancor, or similar suppliers. Cheap “jumper cable” style wire is often undersized for the gauge stamped on it.
Why cable length changes everything
Wattage tells you the current, but distance tells you how much that current will cost you in voltage drop. Every foot of cable has resistance, and at 200-plus amps, even a few extra feet meaningfully changes the outcome.
The standard target is to keep voltage drop under 3 percent for critical circuits like inverter feeds, which on a 12V system means staying under about 0.36 volts of drop between the battery and the inverter terminals. Go beyond that and you start losing usable power, plus your inverter’s low voltage cutoff may trigger even though your battery is perfectly healthy.
A mistake I see constantly: someone mounts their battery bank under the bed and the inverter near the kitchen counter, twelve feet away, then uses the wire gauge that would have worked fine if the inverter sat right next to the battery. Distance is not optional in this calculation. If your total run is longer than 10 feet round trip, jump up at least one more gauge size from the chart above, or better yet run the numbers through Victron’s Wiring Unlimited guide, which has detailed voltage drop tables.
Matching the fuse to the wire, not the inverter
This trips people up constantly: the fuse or breaker protecting your inverter cable should be sized to protect the wire, not just to match the inverter’s rated draw. If you settle on 2/0 AWG cable, you fuse for what 2/0 AWG can safely carry (typically 300 amps for a short chassis-mounted fuse like a Class T), not simply the inverter’s continuous amp draw.
A Class T fuse is worth the extra cost here. It has a fast enough response time to handle a dead short without letting the cable overheat first, and it is what I use on every inverter install I do now, 2000 watts and up. Mount it within 7 inches of the positive battery terminal, which is the ABYC standard and also just common sense: you want the shortest possible run of unprotected cable.
A real scenario: sizing a 3000W inverter in a 30 foot travel trailer
Say you are installing a Xantrex Freedom XC 3000 in a travel trailer with the battery bank in the front pass-through and the inverter mounted near the rear bedroom, a 14 foot cable run each way, 28 feet round trip.
At 3000 watts, you are pulling roughly 288 amps continuous at 12V. The chart above calls for 4/0 AWG at just 3 to 10 feet, and your run is nearly triple that. In this case, the practical answer is to either run dual 2/0 AWG cables per leg (four cables total, two positive and two negative, in parallel) or seriously consider upgrading to a 24V battery bank if your inverter supports it, which would cut your current draw in half and drop you back down to a much more manageable 2/0 or 4/0 single run.
This is exactly the kind of judgment call that a simple chart cannot make for you, which is why understanding the underlying math matters more than memorizing numbers.
Lugs, crimps, and terminals: the weak link people forget
Correctly sized cable with a poorly crimped lug is still a fire hazard. I have pulled apart failed inverter connections where the cable itself was perfect, 4/0 AWG, exactly what the install called for, but the lug had been crimped with a hammer and chisel instead of a proper hydraulic crimper.
Use tinned copper lugs rated for the exact gauge you are running, and crimp them with a tool designed for battery cable, not a generic electrical crimper. If you are new to this step, it is worth reading through our full walkthrough on how to crimp battery lugs correctly before you touch your inverter cable, since a bad crimp undoes all the careful gauge sizing you just did.
Putting it all together in your build
Sizing inverter cable is really a three-step process: figure out your actual continuous current draw at your system voltage, measure your real cable run length round trip, then match those two numbers against a chart like the one above and round up if you are close to a boundary. It takes ten minutes and saves you from callouts, overheating, and voltage drop headaches down the road.
If you have not yet worked through the rest of your DC wiring, our guide to battery cable sizing covers the same math for your main battery-to-busbar runs, and our piece on wiring an inverter to a lithium bank walks through the full connection sequence including fusing and disconnects. For the complete picture of a safe lithium install from battery box to final connection, start with our guide to installing a lithium battery bank safely.
Get the wire gauge right and your inverter will run cooler, hold voltage better under load, and give you years of trouble-free service. It is one of the cheapest insurance policies in the whole build, since the cost difference between the right gauge and one size too small is usually only twenty or thirty dollars over a typical run.