
The first van I wired for a client had two mismatched 100 watt panels from two different garage sales, run in series through a PWM controller that was never going to keep up with a 200Ah lithium bank. It technically worked. It also left them stuck at 40 percent state of charge by 3pm most days, wondering why lithium was supposed to be better than their old AGM setup.
Solar panels for a lithium bank are not a place to improvise. The battery chemistry changed, the charging math changed, and the panel choice needs to change with it. If you have not yet worked through the full setup, our solar charging for lithium guide covers wiring, controllers, and battery integration end to end, and this article zooms in on the panel decision itself.
The quick version
- Lithium accepts high charge current almost to full, so undersized solar wastes the battery’s real potential.
- Monocrystalline rigid panels are the best default: efficient, durable, and the cheapest per watt over their lifespan.
- Size for 200 to 300 watts per 100Ah of lithium capacity if you camp in real sun, more if you boondock in shoulder seasons.
- Pair panels with an MPPT controller, not PWM, and set it to your battery maker’s exact LiFePO4 charge profile.
- Wire panels in parallel unless you specifically need the higher voltage that series wiring provides for long cable runs.
Why lithium changes the solar math
A lead-acid or AGM battery starts tapering its charge acceptance once it hits about 80 percent state of charge, which is why your old solar setup felt like it was “topping off” for hours without much to show for it. LiFePO4 does the opposite.
Lithium will pull nearly its full rated charge current from 10 percent all the way up to roughly 90 percent, then taper hard in the last stretch. That means the panels you had feeding your AGM bank are now the bottleneck, not the battery, since your lithium pack can absorb whatever the array produces for most of the day.
Monocrystalline, polycrystalline, or thin film
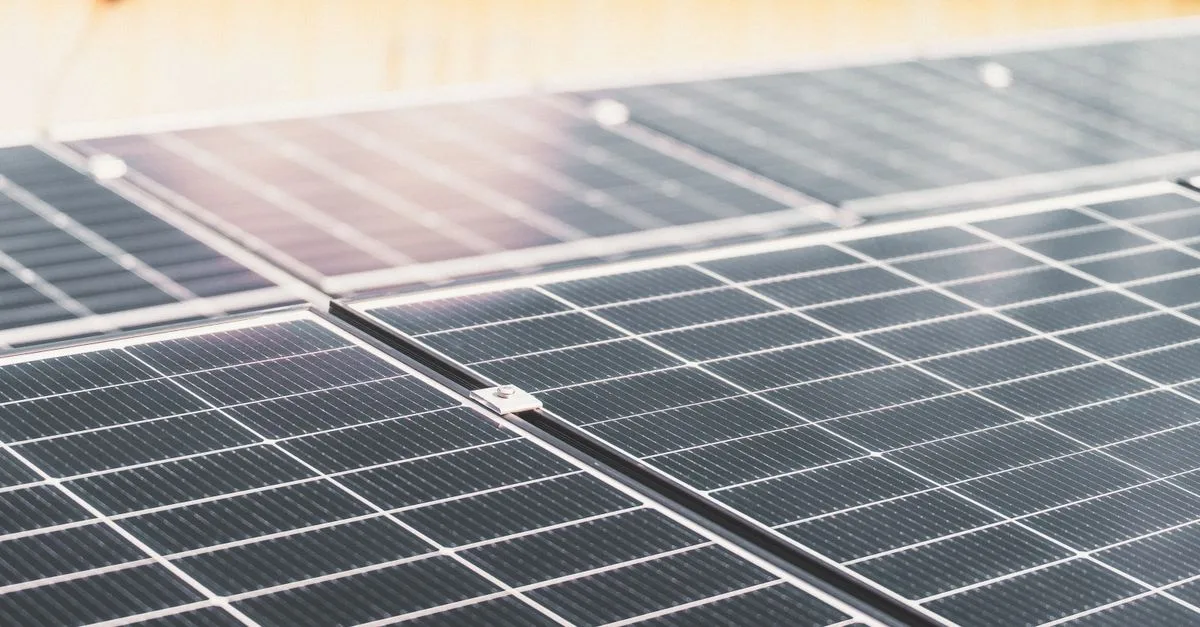
For a rooftop RV or van install, monocrystalline panels are the practical default in 2026. They run 20 to 23 percent efficient, handle partial shading a little better than older polycrystalline cells, and cost roughly $0.80 to $1.20 per watt for name-brand rigid panels from companies like Renogy or HQST.
Polycrystalline panels are cheaper upfront but less efficient per square foot, which matters when roof space is the actual constraint, not budget. On a 20 foot travel trailer roof you rarely have square footage to spare once you account for vents, AC units, and antennas.
Thin film and flexible panels get used on curved surfaces like teardrop trailers or van roofs with contours, but they run hotter in direct sun and that heat cuts efficiency. If you want the full comparison of failure rates, mounting, and lifespan, I go deep on it in flexible versus rigid solar panels.
Tip: If your roof has the space, go rigid. Rigid panels routinely outlast flexible ones by 5 to 10 years and rarely develop the hot spots and delamination that plague budget flexible panels after two or three seasons of heat cycling.
How much wattage your lithium bank actually needs
A common mistake is sizing solar off the battery’s amp hour rating alone, without accounting for how you actually camp. A 200Ah lithium bank running a compressor fridge, some LED lighting, a water pump, and phone charging draws maybe 40 to 60Ah per day in mild weather.
To replace that in 5 usable sun hours, you need close to 100 to 120 watts just to break even, and that assumes no clouds, no shade, and a flat panel angle matched to the sun. Most people want to actually gain ground during the day, not just tread water, so I recommend doubling that baseline.
For a typical 200 to 300Ah lithium setup, 400 to 600 watts of rooftop solar is a comfortable, realistic target. If you want the full sizing formula with worksheet-style math, our article on how much solar to charge your lithium bank walks through it step by step.
Boondocking changes the calculation
If you camp mostly at campgrounds with shore power as backup, you can run leaner on solar. If you boondock for a week at a time in the desert or the mountains, oversize the array, because a cloudy day or two should not force you to run a generator you hate listening to.
Matching panels to an MPPT controller
A PWM controller basically pulls the panel voltage down to match the battery voltage, wasting whatever extra voltage the panel produces. An MPPT (maximum power point tracking) controller converts that extra voltage into extra amps instead, and the efficiency gain is typically 20 to 30 percent, sometimes more in cold weather when panel voltage climbs.
For any lithium install worth doing right, MPPT is not optional. Victron’s SmartSolar line, Renogy’s Rover series, and Xantrex’s MPPT controllers all handle lithium charge profiles well, and most let you dial in a custom absorption voltage around 14.2 to 14.6V and float around 13.6V, matching what Battle Born and Li Time recommend for their 12V packs.
I wrote a full breakdown of the differences and when PWM might still make sense (short answer: almost never on lithium) in MPPT versus PWM for a lithium bank.
Warning: Never leave an MPPT controller on its default “sealed” or “gel” battery profile with a lithium bank. Those profiles often push absorption voltage too high or apply a float stage lithium does not need, and over years that extra voltage stress shortens cell life. Set the LiFePO4 profile explicitly, or use a controller with a built-in lithium preset.
Series versus parallel wiring for your array
Wiring panels in series adds their voltages together while keeping amperage the same, which lets you run thinner wire over long distances from roof to controller with less voltage drop. Wiring in parallel adds amperage while keeping voltage the same, and it tolerates partial shading and mismatched panels better because one shaded panel does not choke the whole string.
For most rooftop RV installs with runs under 15 feet, parallel wiring with 10 or 8 AWG wire works fine and keeps the system simpler to troubleshoot. If you are running four or more panels or dealing with a long cable run to a controller mounted inside a cabinet, series or series-parallel starts making more sense.
Follow ABYC wiring guidelines and use properly rated fuses or breakers at the panel combiner, sized to the array’s short circuit current with the standard 1.25x safety factor. Blue Sea Systems makes solar-rated fuse blocks and breakers that hold up well in the marine and RV environment.
A realistic shopping list
For a 300Ah lithium bank on a Class A or larger trailer, I typically spec three 200 watt rigid monocrystalline panels (600 watts total), a 100/50 Victron SmartSolar MPPT controller, and 10 AWG marine-grade wire with a fused combiner box. Expect to spend $650 to $900 on panels and $250 to $350 on the controller.
| Bank size | Recommended solar wattage | Suggested MPPT size |
|---|---|---|
| 100Ah | 200 to 300W | 20 to 30A |
| 200Ah | 400 to 500W | 30 to 40A |
| 300Ah | 500 to 700W | 40 to 60A |
| 400Ah+ | 700 to 900W | 60 to 100A |
These numbers assume a mix of driving and boondocking. If you are stationary most of the time, you can trim the wattage; if you full-time and rarely plug in, push toward the higher end of each range.
Mounting and roof layout mistakes
The most common physical mistake is packing panels edge to edge without a gap, which traps heat and reduces output on hot days since solar cells lose roughly 0.3 to 0.5 percent efficiency per degree Celsius above 25C. Leave an inch or two between panels for airflow.
Plan your roof layout before you buy, not after. Vents, AC units, and antennas eat space fast, and I have seen more than one owner buy 400 watts of panel only to discover they can physically fit 280.
For more on how solar and your alternator’s DC-DC charger should cooperate rather than compete, see running solar and DC-DC together.
Buying solar for a lithium bank comes down to matching real wattage to real usage, choosing MPPT over PWM without exception, and giving the controller the correct lithium charge profile from day one. Get those three things right and the rest, panel brand, mounting style, wire gauge, is mostly personal preference and roof geometry. Measure your roof, add up your daily amp hour draw, and buy more panel than you think you need. You will use it.